First download and extract YaraEditor sources (you should got them by email after purchase).
Please only do one of the following optional steps:
Bare Metal Installation (optional)
Create database & setup sources
- Move sources folder on your web server (under /var/www).
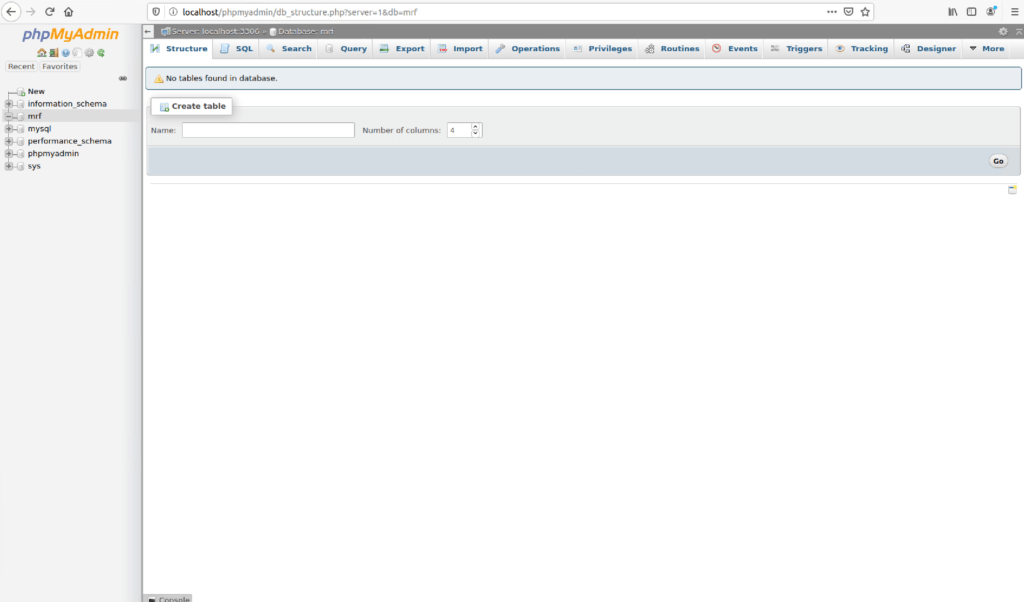
cp -a Your_Download_Folder/yed/. /var/www/html/- Create a database in MySQL (phpmyadmin may help), suggest name “yed”.

Docker Installation (optional)
Docker installation needs very few steps to spin up a new YaraEditor instance.
- Open the “.env” file located into YaraEditor directory, and modify it:
STORAGE_PATH=./storage [where to store data on disk, see "Create storage folder" below]
MYSQL_USER=root        [mysql user]
MYSQL_PASS=password    [mysql password]
MYSQL_DATABASE=yed [mysql database to use for YaraEditor, created automatically]- Then you just need to browse inside the YaraEditor folder and launch the docker-compose script
cd <Your_Download_Folder/yed>
docker-compose up
The YaraEditor website will be then be accessible on http://localhost by default, and phpMyAdmin on http://localhost:8080.
Common steps
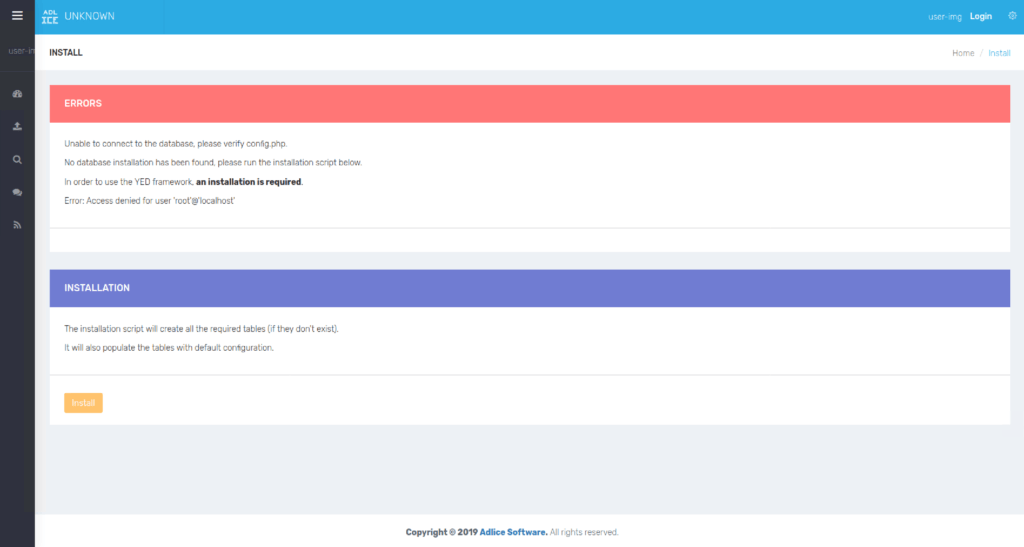
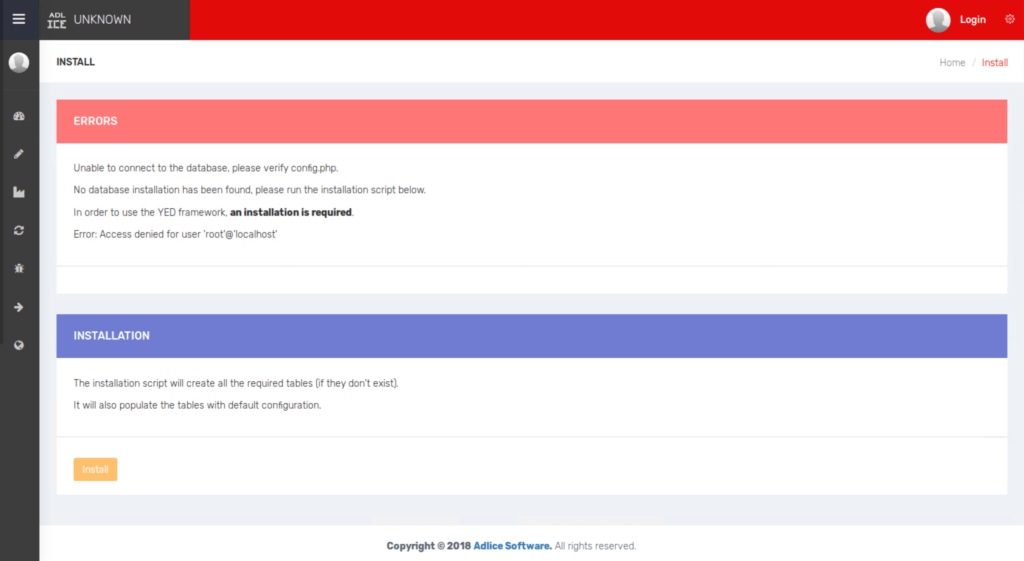
- Browse to the root of the project (http://localhost), install page will show, verify it’s showing properly as below:

Create storage folder
- Create the storage folder
sudo mkdir /your/storage/folder/location- Run the following command to give PHP write access to it:
sudo chown -R www-data:www-data /your/storage/folder/location
Edit configuration file
- Edit your configuration file (under /your_root/src/config.php), as explained in the dedicated section.
Run installer script
If your configuration file is properly filled, it should display the installation page when browsing at root.
Important Note: Installer script must be re-launched every time you modify a module in config.php file. After first installation, the Install page can be found under Admin account, in website settings (“Install” page).

Run the install script and wait for it to complete. Upon completion, all tables will be created in the database, default settings applied and administrator account created.
Warning! Don’t leave the page without saving the admin credentials otherwise you will have to manually delete the database and restart the installation script.
Upon installation everything is setup, you can browse to root again and now it will display the login page (use the admin credentials)
Register Crons
Please refer to the dedicated page.